How to Fix Render Failed Errors in DaVinci Resolve
A deep dive into why DaVinci Resolve's render engine fails and the specific settings you need to tweak to ensure a successful export.
The dreaded "Render Failed" pop-up in DaVinci Resolve can bring a production to a screeching halt. Unlike specific error codes, a generic failure means the software's rendering engine simply gave up.
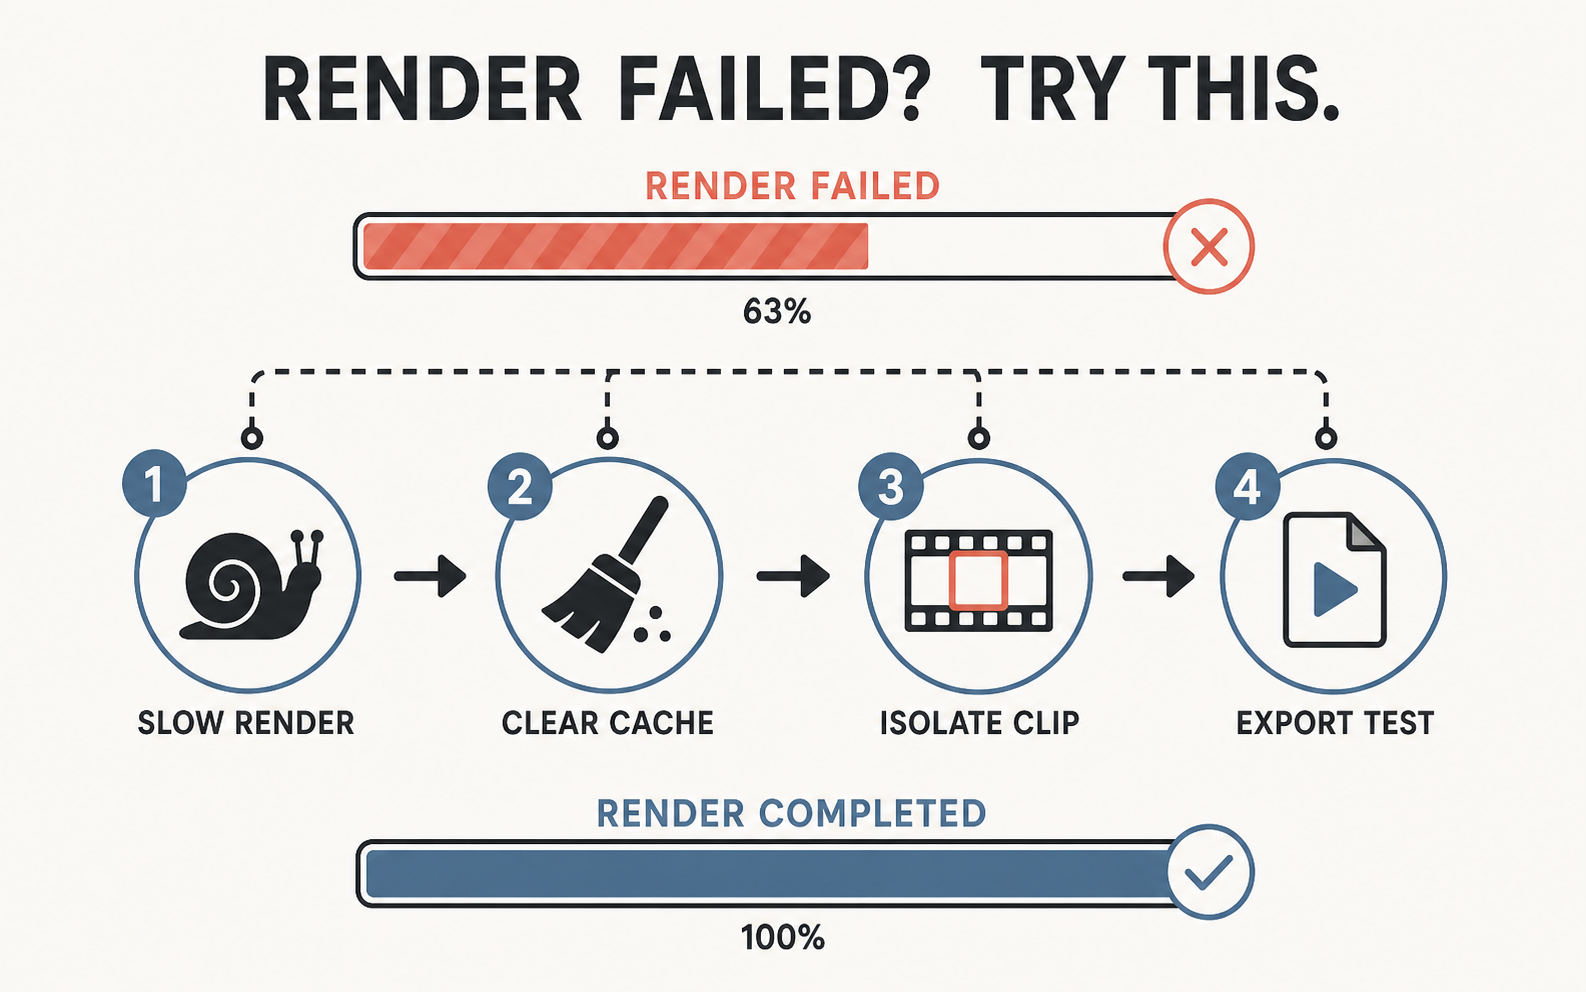
How do you locate the clip that is breaking the render?
Render a short range around the point where the failure repeats. If the short range fails, disable heavy effects or replace clips in that section one at a time. This turns a vague project-wide error into a specific clip, effect, codec, or cache problem you can fix without rebuilding the entire timeline.
Here is a systematic approach to fixing "Render Failed" errors in DaVinci Resolve.
Step 1: Throttle the Render Speed
DaVinci Resolve is designed to use 100% of your system's resources to export as fast as possible. Sometimes, it feeds data to the GPU faster than the GPU can process it, causing a crash.
- Go to the Deliver page.
- In the Render Settings panel (left side), scroll down and expand the Advanced Settings section.
- Locate the Render Speed dropdown. By default, it is set to "Maximum."
- Change this to a lower frame rate, such as 50, 25, or 10. This acts as a speed limit, keeping your GPU from overheating or running out of memory.
Step 2: Clear the Render Cache
If Resolve has been building background render cache files during your edit, and one of those temporary files became corrupted, it will crash the final export when it tries to read it.
- Go back to the Edit page.
- On the top menu bar, click Playback > Delete Render Cache > All.
- Go back to the Deliver page and try your export again. Resolve will now calculate everything from scratch instead of relying on potentially corrupted temp files.
Step 3: Disable Network Rendering
If you are using DaVinci Resolve Studio and have "Remote Rendering" enabled, network hiccups can cause the render to fail.
* Ensure you are rendering locally to an internal SSD or a directly connected fast external drive (Thunderbolt/USB-C), rather than trying to write the final massive video file directly across a Wi-Fi network to a NAS.
Step 4: Isolate the Problematic Clip
If the render fails at the exact same percentage every time (e.g., it always fails at 42%), you have a localized timeline issue.
- Look at the preview monitor on the Deliver page while it renders. Note exactly what clip is playing when it crashes.
- Go to that clip on the Edit or Color page.
- The culprit is usually a heavy effect: Noise Reduction, Speed Warp (Optical Flow), or a complex Fusion composition.
- Try disabling that specific effect, or right-click the clip and select Render in Place to pre-bake that specific shot before attempting the final timeline export.
By systematically slowing down the render and isolating corrupted cache files, you can push almost any stubborn timeline through Resolve's export engine.
Related reads
- How to Fix Render Errors in DaVinci Resolve — Fix DaVinci Resolve render errors by isolating the failing range, checking storage and permissions, testing codecs, and rebuilding only broken sections.
- How to Fix Black Screen Preview in DaVinci Resolve — Fix a black screen preview in DaVinci Resolve by checking GPU drivers, processing mode, viewer settings, media status, and common UI glitches.
- DaVinci Resolve Export Errors: 11 Fixes That Work — Fix DaVinci Resolve export errors by isolating the failing range, checking storage and permissions, testing codecs, and repairing effects on the Deliver page.