DaVinci Resolve De-Noise Guide: Cleaning High ISO Wedding BRAW and S-Log3 Footage
Stop destroying detail with heavy noise reduction. Learn the exact DaVinci Resolve settings to clean high ISO BRAW and Sony S-Log3 footage from dark wedding receptions.
What are the best DaVinci Resolve De-Noise settings for high ISO BRAW and S-Log3 footage?
For high ISO footage, apply a Spatial Noise Reduction node set to "Enhanced," unlink the Luma and Chroma channels, apply heavy noise reduction (around 10-15) exclusively to the Chroma channel to kill color splotches, and leave the Luma channel mostly untouched to preserve sharpness.
Here is the difference in practice: a polished Cutsio Collection share page for wedding films instead of an ugly Google Drive file link.
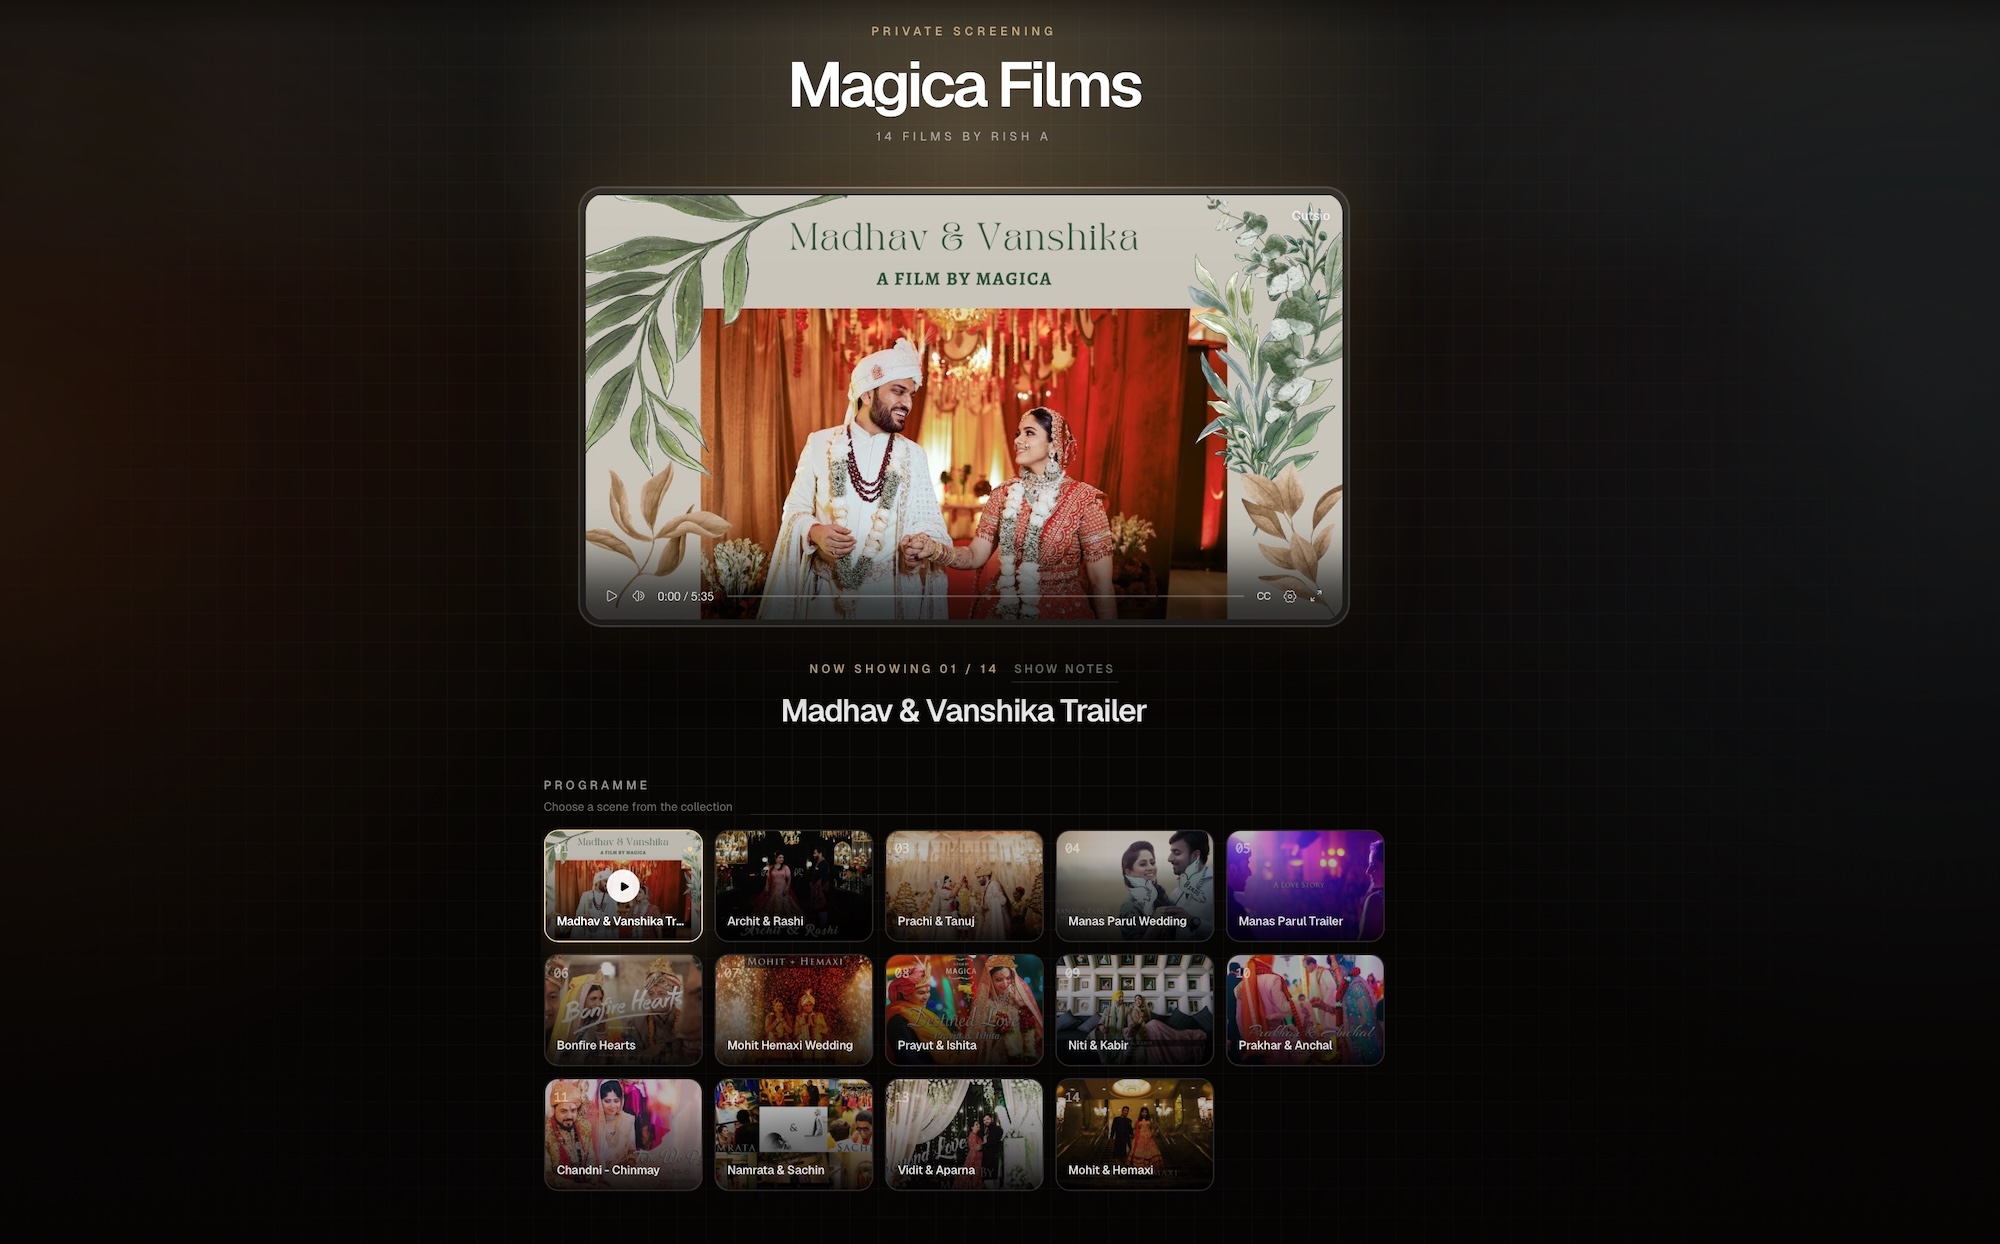
Want to see the live version? Preview the Cutsio wedding film Collection.
Wedding videographers are forced to shoot in incredibly dark reception halls, often pushing their Sony FX3 (S-Log3) or Blackmagic cameras (BRAW) to ISO 12,800 or higher. This introduces massive digital noise into the shadows. The instinct is to apply heavy temporal noise reduction across the entire image, but this results in a plastic, smeared, "watercolor" look that destroys the texture of the bride's dress. Digital noise consists of two parts: Luma (grain/brightness) and Chroma (ugly red/blue color splotches). Our eyes are highly forgiving of Luma grain (it looks like film), but we hate Chroma noise. By unlinking the channels in DaVinci Resolve and aggressively targeting only the Chroma noise, you clean the image while retaining all the crisp, high-frequency detail.
Why should Noise Reduction always be the first node in your color grade?
Noise Reduction must be placed on the very first node of your node tree because applying contrast, saturation, or sharpening later in the chain will multiply and "bake in" the noise, making it impossible to remove cleanly.
DaVinci Resolve processes nodes sequentially from left to right. If your first node adds contrast (crushing the blacks and boosting the highlights) and your second node adds saturation, you have just magnified the digital noise by 300%. If you apply a De-Noise node after these adjustments, the algorithm has to work three times as hard, resulting in a blurry, processed image. Always clean the raw signal first. Place a dedicated Noise Reduction node at the very beginning of your tree, clean the image, and then build your creative grade on top of that pristine foundation.
How should colorists present high ISO noise reduction tests to clients?
Colorists should export a side-by-side comparison and upload it to Cutsio, ensuring the client views the high-fidelity presentation in a branded environment rather than a heavily compressed email attachment.
Noise reduction is computationally heavy and visually nuanced. Sending a compressed 1080p MP4 via Google Drive to a wedding client ruins the presentation; the cloud compression will introduce its own blocky artifacts, making it impossible for the client to judge the noise reduction accurately. By uploading the test render to Cutsio, you provide a frictionless, white-labeled viewing experience. The client can see the pristine playback, and Cutsio’s approval gates allow them to sign off on the look securely.
FAQ
Is Noise Reduction available in the free version of DaVinci Resolve?
No, both Spatial and Temporal Noise Reduction tools are locked behind the paid DaVinci Resolve Studio license, making it a mandatory upgrade for low-light videographers.
What is Temporal Noise Reduction?
Temporal Noise Reduction analyzes multiple frames over time (before and after the current frame) to average out random noise, whereas Spatial analyzes only the pixels within a single static frame.
Why does DaVinci Resolve stutter when I turn on Noise Reduction?
Noise Reduction is the most GPU-intensive process in DaVinci Resolve. To maintain real-time playback, turn on "Smart Render Cache" so the timeline renders the heavy node in the background.
Related reads
- Color Matching Workflow in DaVinci Resolve: Mixing ARRI, Sony, and Canon Log Profiles — Stop wrestling with color wheels. Learn the exact DaVinci Resolve Color Space Transform (CST) workflow to seamlessly match ARRI LogC, Sony S-Log3, and Canon C-Log.
- How to organize photos into albums with LightBox view in DaVinci Resolve Photo page — DaVinci Resolve Photo page uses albums and LightBox view for organizing, grading, and comparing still images side by side. This guide covers album creation, IntelliSearch for photos, its limitations, and how Cutsio Visual Intelligence extends search across your entire photo library.
- How to use color curves in DaVinci Resolve for precise color grading — DaVinci Resolve curves offer six types of adjustments: Custom curves, Hue Vs Hue, Hue Vs Sat, Hue Vs Lum, Lum Vs Sat, and Sat Vs Sat. This guide covers each curve type and practical grading applications.